- All
- Product Name
- Product Keyword
- Product Model
- Product Summary
- Product Description
- Multi Field Search
 English
Views: 0 Author: Site Editor Publish Time: 2026-08-21 Origin: Site


The demand for personalized entryways has surged, but the majority of DIY and entry-level custom mats fail prematurely due to fading, fiber shedding, or paint flaking under heavy foot traffic. Creating a custom door mat requires balancing design fidelity with environmental resilience. The challenge lies in selecting a production method that aligns with the intended use case—whether for a single residential project, a scalable Etsy business, or producing commercial-grade mats.
This guide evaluates the technical realities of the most common production methods—from stencil painting to laser engraving—analyzing material compatibility, equipment costs, and long-term durability to determine the most viable approach for your specific requirements.
Material Dictates Method: The base material (e.g., coir, rubber, or Custom Jute Door Mats) fundamentally limits which application methods (paint, laser, flocking) will adhere and survive abrasion.
Durability vs. Precision Trade-off: High-precision methods like laser engraving offer excellent detail but lack color contrast, while paint offers color but risks cracking and bleeding without proper sealants.
Scalability Requires Equipment Investment: Transitioning from one-off hobbyist projects to producing Custom Logo Door Mats at scale necessitates moving from manual stenciling (Cricut/freezer paper) to automated systems (laser engravers or UV printers).
Curing and Sealing are Non-Negotiable: Regardless of the application method, the failure to properly prep the substrate and seal the final design is the primary cause of premature wear.
Before selecting a production technique, you must define the performance baseline required for the final product. A successful custom mat must survive continuous exposure to harsh elements while maintaining its structural integrity and design clarity. We evaluate these products based on strict environmental and mechanical thresholds.
Evaluating the mat's ability to withstand UV degradation, moisture retention, and temperature fluctuations is mandatory. Outdoor mats face constant sunlight. UV rays rapidly fade unsealed pigments and degrade natural fibers, turning them brittle. Moisture retention leads to rotting and mold growth if the substrate lacks proper drainage or a solid synthetic backing. Temperature fluctuations cause materials to expand and contract. This thermal cycling can crack rigid paints or warp low-quality rubber bases over a single winter season.
To combat environmental degradation, production methods must incorporate UV-stable pigments or physical etching. Sealants play a massive role here. Applying a marine-grade polyurethane or a specialized outdoor fabric protector creates a hydrophobic barrier. This barrier prevents water from soaking into the core fibers and blocks the UV spectrum that breaks down color molecules.
Analyzing how well the applied design holds up to the mechanical friction of shoe scraping determines the functional lifespan of the mat. High-traffic entryways subject the surface to thousands of abrasive impacts weekly. If the design sits purely on the surface without penetrating the fibers or bonding chemically with the substrate, mechanical friction will sheer the pigment away within weeks.
We measure abrasion resistance through simulated wear tests. A standard test involves running a weighted, stiff-bristle brush over the design area for 5,000 cycles. Paint applied without a primer or fabric medium usually fails this test before 1,000 cycles. Laser-engraved designs, because they physically alter the substrate depth, pass this test indefinitely, though the surrounding fibers may eventually wear down.
The foundation material dictates the entire production workflow. Properly preparing the substrate ensures maximum adhesion and longevity. You cannot apply the same preparation steps to a natural fiber mat as you would to a synthetic rubber mat.
Coir (Coconut Fiber): Known for high abrasion resistance but suffers from high shedding and an uneven surface. It requires deep vacuuming and fiber-leveling before design application to create a stable working area. You must shear the top layer slightly to remove stray, long fibers that will lift your stencil.
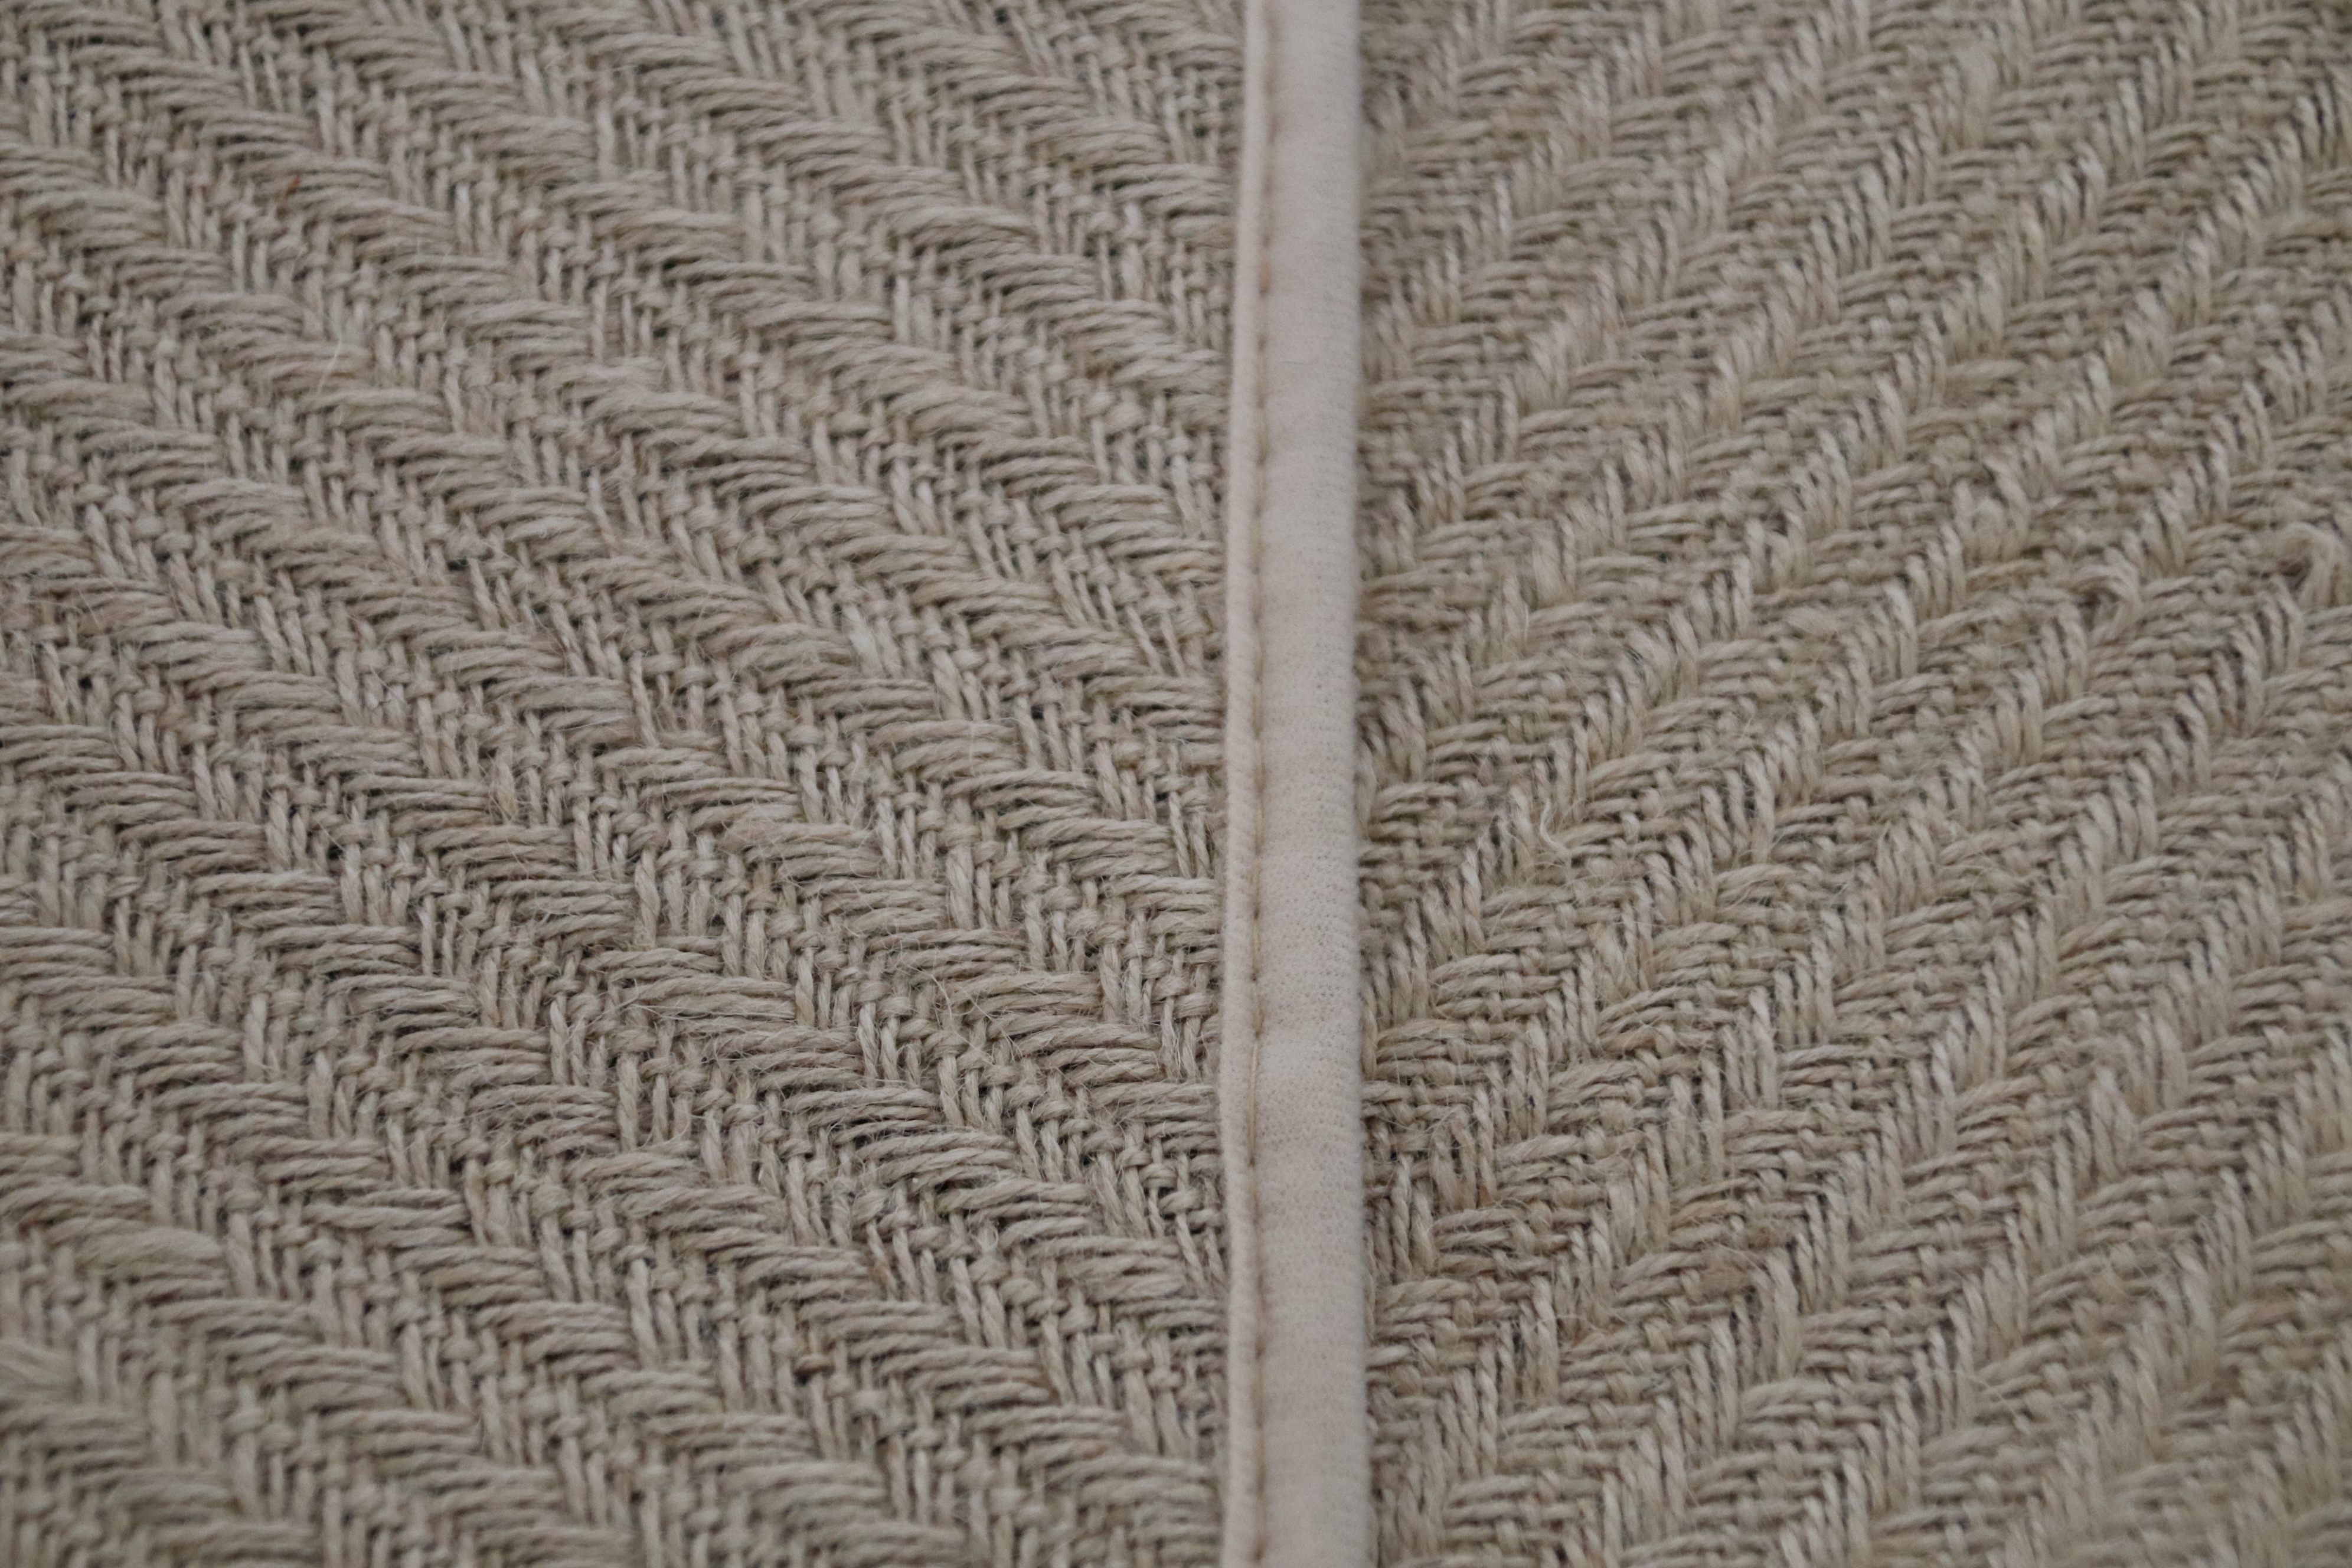
Custom Jute Door Mats: Featuring a softer natural fiber, jute is highly absorbent and better suited for indoor or covered use. It requires fabric mediums mixed into paints to prevent severe capillary bleeding along the fibers. Jute lays flatter than coir, making stencil adhesion slightly easier.
Synthetic/Rubber: Offers maximum durability for heavy use. This material requires specialized industrial inks, rigorous surface degreasing to remove manufacturing release agents, or vulcanized logo inlays for permanent integration. You must wipe down rubber mats with isopropyl alcohol or a dedicated degreaser before applying any pigment.
Substrate Type | Primary Use Case | Prep Requirement | Best Application Method |
|---|---|---|---|
Coir (Coconut) | Outdoor, High Traffic | Deep vacuum, surface shearing | Laser Engraving, Heavy Paint |
Jute | Indoor, Covered Porch | Lint rolling, fabric medium | Light Paint, UV Print |
Synthetic Rubber | Commercial, Wet Areas | Chemical degreasing | UV Print, Flocking |
Different production volumes and design requirements call for distinct manufacturing approaches. Below, we break down the execution workflows and technical realities of three primary methods. We look at the exact steps required on the shop floor to produce a viable product.
This method involves cutting a negative stencil via a plotting machine or manual blade, adhering it to the mat, and applying pigment such as acrylic, outdoor paint, or rubberized sprays. It is the most common entry point for custom mat production.
Step 1: Stencil Design and Prep: Design the graphic while keeping weeding tolerances in mind for complex shapes. Thin lines will not transfer well to rough coir. Cut the stencil on heavy adhesive vinyl (like Oracal 813) or freezer paper.
Step 2: Substrate Preparation: Forcefully shake, vacuum, and lint-roll the surface. Removing loose fibers prevents them from interfering with stencil adhesion. If you skip this step, the paint will adhere to loose fibers that will immediately shed, taking your design with them.
Step 3: Stencil Transfer & Securing: Align the stencil on the mat. For coir or jute, secure the edges using heat-tacking (if using freezer paper), painter's tape, or straight pins inserted directly into the fibers. This prevents shifting during paint application. Pinning is highly recommended for coir.
Step 4: Pigment Application: Apply paint or rubberized sprays using a perpendicular stippling motion with a stiff stencil brush. Avoid side-to-side brushing to prevent paint from migrating beneath the stencil edges. You want to push the paint down into the fibers, not drag it across the top.
Step 5: Stencil Removal & Post-Seal: Carefully weed out interior vinyl pieces while the paint remains slightly tacky to prevent tearing dry edges. Seal the dried design with a UV-resistant clear coat after a 24-hour cure time.
This approach offers high accessibility and low startup equipment needs. Success is highly dependent on paint viscosity and precise stencil adhesion to prevent edge bleeding. It remains best suited for low-volume production, hobbyists, and highly textured coir mats where heavy paint application is necessary. You will spend considerable time weeding stencils, which limits daily output.
Laser engraving uses a diode or CO2 laser to physically burn away the top layer of fibers, creating a dark, recessed design permanently etched into the material. This method removes the variable of paint adhesion entirely.
Step 1: Digital Design Optimization: Adjust graphic files for monochrome output. Convert colored logos into high-contrast vector silhouettes. Gradients do not translate well to natural fibers.
Step 2: Substrate Leveling & Prep: Ensure the mat lies perfectly flat on the laser bed. Use heavy steel weights on the corners if necessary to maintain a consistent focal distance across the entire surface. A warped mat will result in out-of-focus, blurry engravings.
Step 3: Parameter Calibration: Run grid tests on scrap materials. Find the exact power and speed settings to ensure a deep mark without melting rubber backings or igniting natural fibers. Coir requires high power and moderate speed.
Step 4: Engraving Execution: Run the laser cycle under continuous observation. Keep air assist active at high pressure to blow away ignition sparks and smoke. Never leave a laser unattended while cutting natural fibers due to the high fire risk.
Step 5: Post-Process Ash Cleanup: Scrub the engraved channels with a stiff-bristle nylon brush. Use industrial vacuuming to remove loose carbon and minimize the burnt-organic odor. Failing to clean the ash will result in black soot tracking into the customer's home.
Laser engraving delivers exceptional precision for intricate designs and typography. There is zero risk of paint flaking or fading since the design is physically etched into the material. It requires significant upfront capital for a large-format laser, generates heavy smoke requiring industrial ventilation, and only produces monochrome output. It is best for mid-to-high volume production and premium natural fiber mats.
This industrial approach utilizes direct-to-substrate UV-cured inks or electrostatic flocking, which adheres dyed nylon fibers into a glued stencil pattern. This is how mass-market retail mats are produced.
Step 1: Color Separation: Set up print-ready files with dedicated white underbase channels to ensure vivid color reproduction on dark fibers. Without a white underbase, colors will look muddy on brown coir or jute.
Step 2: Print Bed Calibration: Set precise Z-axis height clearance. The print heads must clear variable mat fibers without striking the material. A head strike on a rough coir mat can destroy a very expensive UV print head.
Step 3: Ink Deposition & UV Curing: Jet specialized flexible inks onto the substrate. These inks are instantly cured by UV LED lamps mounted directly on the carriage, allowing for immediate handling and packaging.
This method produces retail-grade, multi-color Custom Logo Door Mats with superior UV and abrasion resistance. The implementation realities include prohibitive equipment costs for small creators and the need for highly precise print head calibration to accommodate uneven surfaces. It is ideal for commercial suppliers, corporate branding, and high-traffic retail environments.
Every production method carries specific failure risks. Anticipating these issues and applying technical mitigations ensures a durable final product. We see the same failures repeatedly on the shop floor when operators rush the process.
Liquid paints often wick down natural fibers, ruining crisp design lines and blurring text. This happens when the paint is too thin or applied too heavily in a single pass.
Mitigation: Utilize a dry-brush technique. Apply multiple light coats instead of one heavy, saturating coat. Alternatively, use highly viscous rubberized sprays that sit on top of the fibers rather than soaking into them. Mixing a fabric medium into acrylics also thickens the pigment and reduces wicking.
Paint can peel off the mat in solid sheets after a few weeks of heavy use, especially on synthetic backings. This indicates a complete failure of adhesion.
Mitigation: Thoroughly vacuum and prep the mat to remove loose fibers and manufacturing oils before application. Always apply a high-quality, flexible clear-coat sealant, such as marine-grade polyurethane, immediately post-curing. For rubber mats, use an adhesion promoter before painting.
Engraved natural mats often smell strongly of burnt organic matter and leave soot that tracks into the house. This is the most common customer complaint for laser-engraved coir.
Mitigation: Optimize laser speed and power settings to achieve a dark mark without deep, excessive charring. Post-process the mat vigorously by brushing away loose ash and airing it out in a low-humidity environment for 48 hours. Spraying the engraved area with a light clear coat can also lock in residual carbon dust.
Selecting the right production method requires analyzing labor time against equipment investment. Scaling a custom mat operation means shifting from manual labor to automated processing. You must understand your unit economics to remain profitable.
The unit economics of DIY methods involve low equipment costs but demand high labor time. Weeding stencils, taping, painting, and drying consume hours per unit. This manual approach is generally not viable for operations exceeding 10 to 15 units per week due to severe bottlenecking. You simply run out of physical space to dry the mats.
Automated methods like laser engraving flip the equation. They require high capital expenditure but feature low variable labor. A properly calibrated laser can process a mat in 15 to 30 minutes entirely hands-free, allowing operators to prep the next unit or handle shipping simultaneously. This labor efficiency enables high-margin scaling. You can run multiple lasers simultaneously with a single operator.
Eventually, operations reach an outsourcing threshold. When the demand for full-color, highly durable mats exceeds internal UV printing capabilities or space constraints, partnering with a commercial manufacturer becomes necessary. Outsourcing allows you to maintain consistent quality and profit margins without absorbing massive industrial equipment maintenance. You transition from a manufacturer to a designer and distributor.
The optimal method for making a custom entry mat depends entirely on your target production volume and required longevity. Stencil-and-spray methods are sufficient for seasonal or low-traffic residential use. Laser engraving provides the best balance of durability and scalability for growing operations. Commercial UV printing and flocking remain the standard for high-volume, multi-color corporate logo mats.
Define your target substrate carefully, noting the differences in preparation for coir versus softer natural fibers.
Acquire necessary scrap material to dial in your laser settings or test paint viscosity before touching final inventory.
Run a localized abrasion test using a stiff brush on your test pieces to verify pigment adhesion and sealant effectiveness.
Upgrade your ventilation systems immediately if transitioning to laser engraving natural fibers.
A: Heavy-body acrylic paints, specialized outdoor patio paints, or liquid rubber sprays perform best. These materials offer high viscosity, which prevents the pigment from bleeding down the porous coconut fibers, ensuring crisp lines and better surface adhesion.
A: Apply two to three light coats of a UV-resistant, flexible clear sealant. Marine-grade polyurethane or specialized outdoor fabric sealers work well. Spray evenly over the dried design to lock in the pigment and protect against sunlight and moisture.
A: Yes, but it requires precise calibration. Jute is softer and ignites easier than dense coir. You must use lower power settings, higher speeds, and continuous air assist to prevent flare-ups and avoid burning completely through the material.
A: Bleeding occurs when paint is too thin, applied too heavily, or brushed side-to-side. Loose fibers under the stencil also break the seal. Vacuum the mat thoroughly, use a dry-brush stippling technique, and apply multiple light coats instead.
A: A painted mat uses liquid pigment applied to the surface fibers. A flocked mat uses an electrostatic process to shoot dyed nylon fibers into a heavy adhesive base, creating a raised, highly durable, and fade-resistant textured design.
A: An unsealed DIY painted mat in an uncovered area may only last one to three months before fading or shedding. A properly prepped, painted, and UV-sealed mat in a covered entryway can last a year or more depending on foot traffic.
A: Settings vary by laser wattage. Generally, for a standard CO2 laser, use medium-high power and moderate speed to achieve a dark burn without excessive depth. Always run a grid test on scrap coir to dial in the exact parameters.