
- All
- Product Name
- Product Keyword
- Product Model
- Product Summary
- Product Description
- Multi Field Search
 English
Views: 0 Author: Site Editor Publish Time: 2026-07-31 Origin: Site


A structurally sound but faded rubber entryway mat presents a common maintenance issue. You face a choice: constantly replace worn-out welcome mats or attempt a restoration. Upcycling appeals to many property owners, but achieving proper paint adhesion on flexible, high-traffic surfaces is notoriously difficult. Rubber naturally repels many coatings, making standard painting techniques ineffective.
The primary challenge lies in preventing the new finish from cracking or peeling under heavy foot traffic. The surface must also survive harsh outdoor UV exposure and constant moisture. While painting rubber is entirely possible, it requires specific chemical compatibility and rigorous surface preparation. Failing to address these factors guarantees immediate flaking and a ruined aesthetic.
This guide evaluates the best paint formulations for flexible surfaces. We outline exact preparation and application methods, including stenciling and freehand techniques, required for maximum longevity. Finally, we compare the return on investment of DIY restoration against purchasing purpose-built replacements, helping you determine the most practical solution for your entryway.
Adhesion is the Primary Hurdle: Successful painting on rubber requires rigorous decontamination and the use of flexible, exterior-grade acrylics or specialized rubber spray paints.
Durability is Finite: Even with optimal preparation and premium materials, a painted rubber door mat will eventually show wear in high-traffic zones; expect a realistic lifespan of 1 to 2 years before touch-ups are required.
Preparation Dictates Outcomes: Skipping the deep cleaning, degreasing, and complete drying phases guarantees immediate paint failure and flaking.
DIY vs. Professional Alternatives: While DIY painting is cost-effective for seasonal or low-traffic areas, investing in Custom Printed Door Mats is the more viable long-term solution for permanent, high-fidelity designs that resist fading.
Rubber possesses unique chemical and physical properties that naturally resist standard paints. Its inherent flexibility means any rigid coating will immediately crack upon bending or compression. Furthermore, rubber compounds often contain oils, plasticizers, and mold-release agents left over from the manufacturing process. These substances create a barrier that prevents standard acrylic or enamel paints from forming a strong chemical bond with the substrate. When you apply standard house paint to a rubber surface, it simply sits on top of this oily barrier, waiting to be scraped off by the first pair of heavy boots.
Understanding the anatomy of your specific mat is mandatory before applying any coating. Pure vulcanized rubber mats typically feature molded, raised designs and require highly flexible, surface-bonding paints. Vulcanization hardens the rubber, but it retains a memory that forces it back into its original shape after compression. Conversely, painting the fabric or coir surfaces on Rubber Backed Door Mats involves entirely different mechanics. In these cases, the paint must penetrate the fibers rather than just sitting on the rubber backing, demanding different application techniques and viscosities.
Defining a successful paint job on an outdoor mat requires realistic expectations. Success means the paint does not immediately crack when the mat is rolled or bent. The finish must resist water pooling without blistering and maintain colorfastness under direct UV light. It should withstand basic abrasion from footwear without peeling away in large flakes during the first few months of use. You are creating a sacrificial wear layer that will eventually degrade, not a permanent factory finish.
The wear-and-tear factor ultimately dictates the lifespan of your restoration. Friction from heavy boots, abrasive debris like sand and gravel, extreme temperature fluctuations, and environmental moisture constantly attack the structural integrity of the painted layer. Winter conditions are particularly harsh; freezing temperatures make the paint film brittle, while rock salt acts as a corrosive abrasive. Over time, these forces will degrade even the most meticulously applied coatings, making eventual touch-ups an unavoidable reality for high-traffic zones.
Always consult manufacturer guidelines before modifying commercial-grade entryway products. Applying aftermarket paints or harsh chemical degreasers can degrade specialized rubber compounds and will almost certainly void any existing warranties. If your mat serves a safety function, altering its surface friction with paint may compromise its slip-resistant properties, creating a liability in wet conditions.
Selecting the correct paint formulation determines whether your project lasts two years or two days. You cannot use leftover interior latex paint or standard spray enamels. You need products engineered to stretch, flex, and bond with petroleum-based substrates.
Exterior-grade acrylic paint offers excellent flexibility and weather resistance. Being water-based, it allows for straightforward application and easy cleanup. This paint type delivers high color saturation, making it ideal for detailed, multi-colored designs that require precise edge control. The acrylic polymers stretch with the rubber, significantly reducing the risk of hairline fractures under compression. Look for acrylics specifically labeled for outdoor use, as these contain UV inhibitors that prevent the pigments from fading under direct sunlight.
The primary drawback is the application process. Applying acrylics requires manual brush work, which becomes highly time-consuming if you are attempting a full-coverage base coat over a large area. Achieving an even finish without visible brush strokes on smooth rubber also demands careful technique and multiple thin layers. Thick layers of acrylic will skin over on the outside while remaining wet underneath, leading to a soft, easily damaged finish.
This paint excels in specific scenarios. It is the optimal choice for freehand painting, detailed lettering, and intricate stenciling. It is also highly effective for highlighting raised rubber designs, where you only want to apply color to the elevated textures while leaving the background bare.
Flexible spray paints formulated specifically for plastics and rubber provide rapid application and exceptionally even coverage. The aerosol delivery system allows the paint to bond well to highly textured or complex molded surfaces where a brush might struggle to reach. These formulas contain adhesion promoters that bite into the rubber substrate, creating a chemical bond rather than just a mechanical one.
However, spray painting carries a high risk of overspray. It requires a well-ventilated outdoor workspace and protective gear. Executing multi-colored patterns with spray paint demands complex, time-consuming masking techniques to prevent different colors from bleeding into one another. You must also monitor environmental conditions closely; high humidity or low temperatures will cause the spray paint to blush (turn cloudy) or fail to cure properly.
Spray paint is best utilized for complete color transformations. It is the most efficient method for applying solid base coats to faded Rubber Backed Door Mats before adding hand-painted details with acrylics.
The soak method involves utilizing squeeze bottles, similar to plastic condiment dispensers, to apply thinned paint directly into dense, fibrous, or heavily textured sections. Instead of brushing the surface, you force the liquid pigment deep into the material structure. You thin the acrylic paint with water or a specialized flow improver until it reaches the consistency of heavy cream.
This technique allows the paint to penetrate deeply into the fibers and recessed areas rather than sitting vulnerable on top. By embedding the color below the primary impact zone, you drastically reduce surface friction wear, extending the visual life of the design. The shoe tread hits the unpainted top fibers, while the color remains protected in the lower matrix.
The disadvantages include high paint consumption and significantly longer curing times. Because the material absorbs a large volume of liquid, the mat must remain in a dry, warm environment for several days before it is safe for foot traffic. This method is exclusively suited for highly textured woven inserts on rubber-backed styles, not for smooth, flat rubber.
Paint Type | Best Application | Primary Advantage | Main Drawback |
|---|---|---|---|
Exterior-Grade Acrylic | Stencils, fine details, raised lettering | High flexibility, UV resistance, precise control | Time-consuming for large areas, visible brush strokes |
Flexible Spray Paint | Full base coats, complex molded textures | Fast application, even coverage, chemical bonding | Overspray risk, difficult to mask multiple colors |
Soak Method (Thinned Acrylic) | Fibrous inserts, deep woven textures | Color protected below surface wear layer | High material usage, extended multi-day cure time |
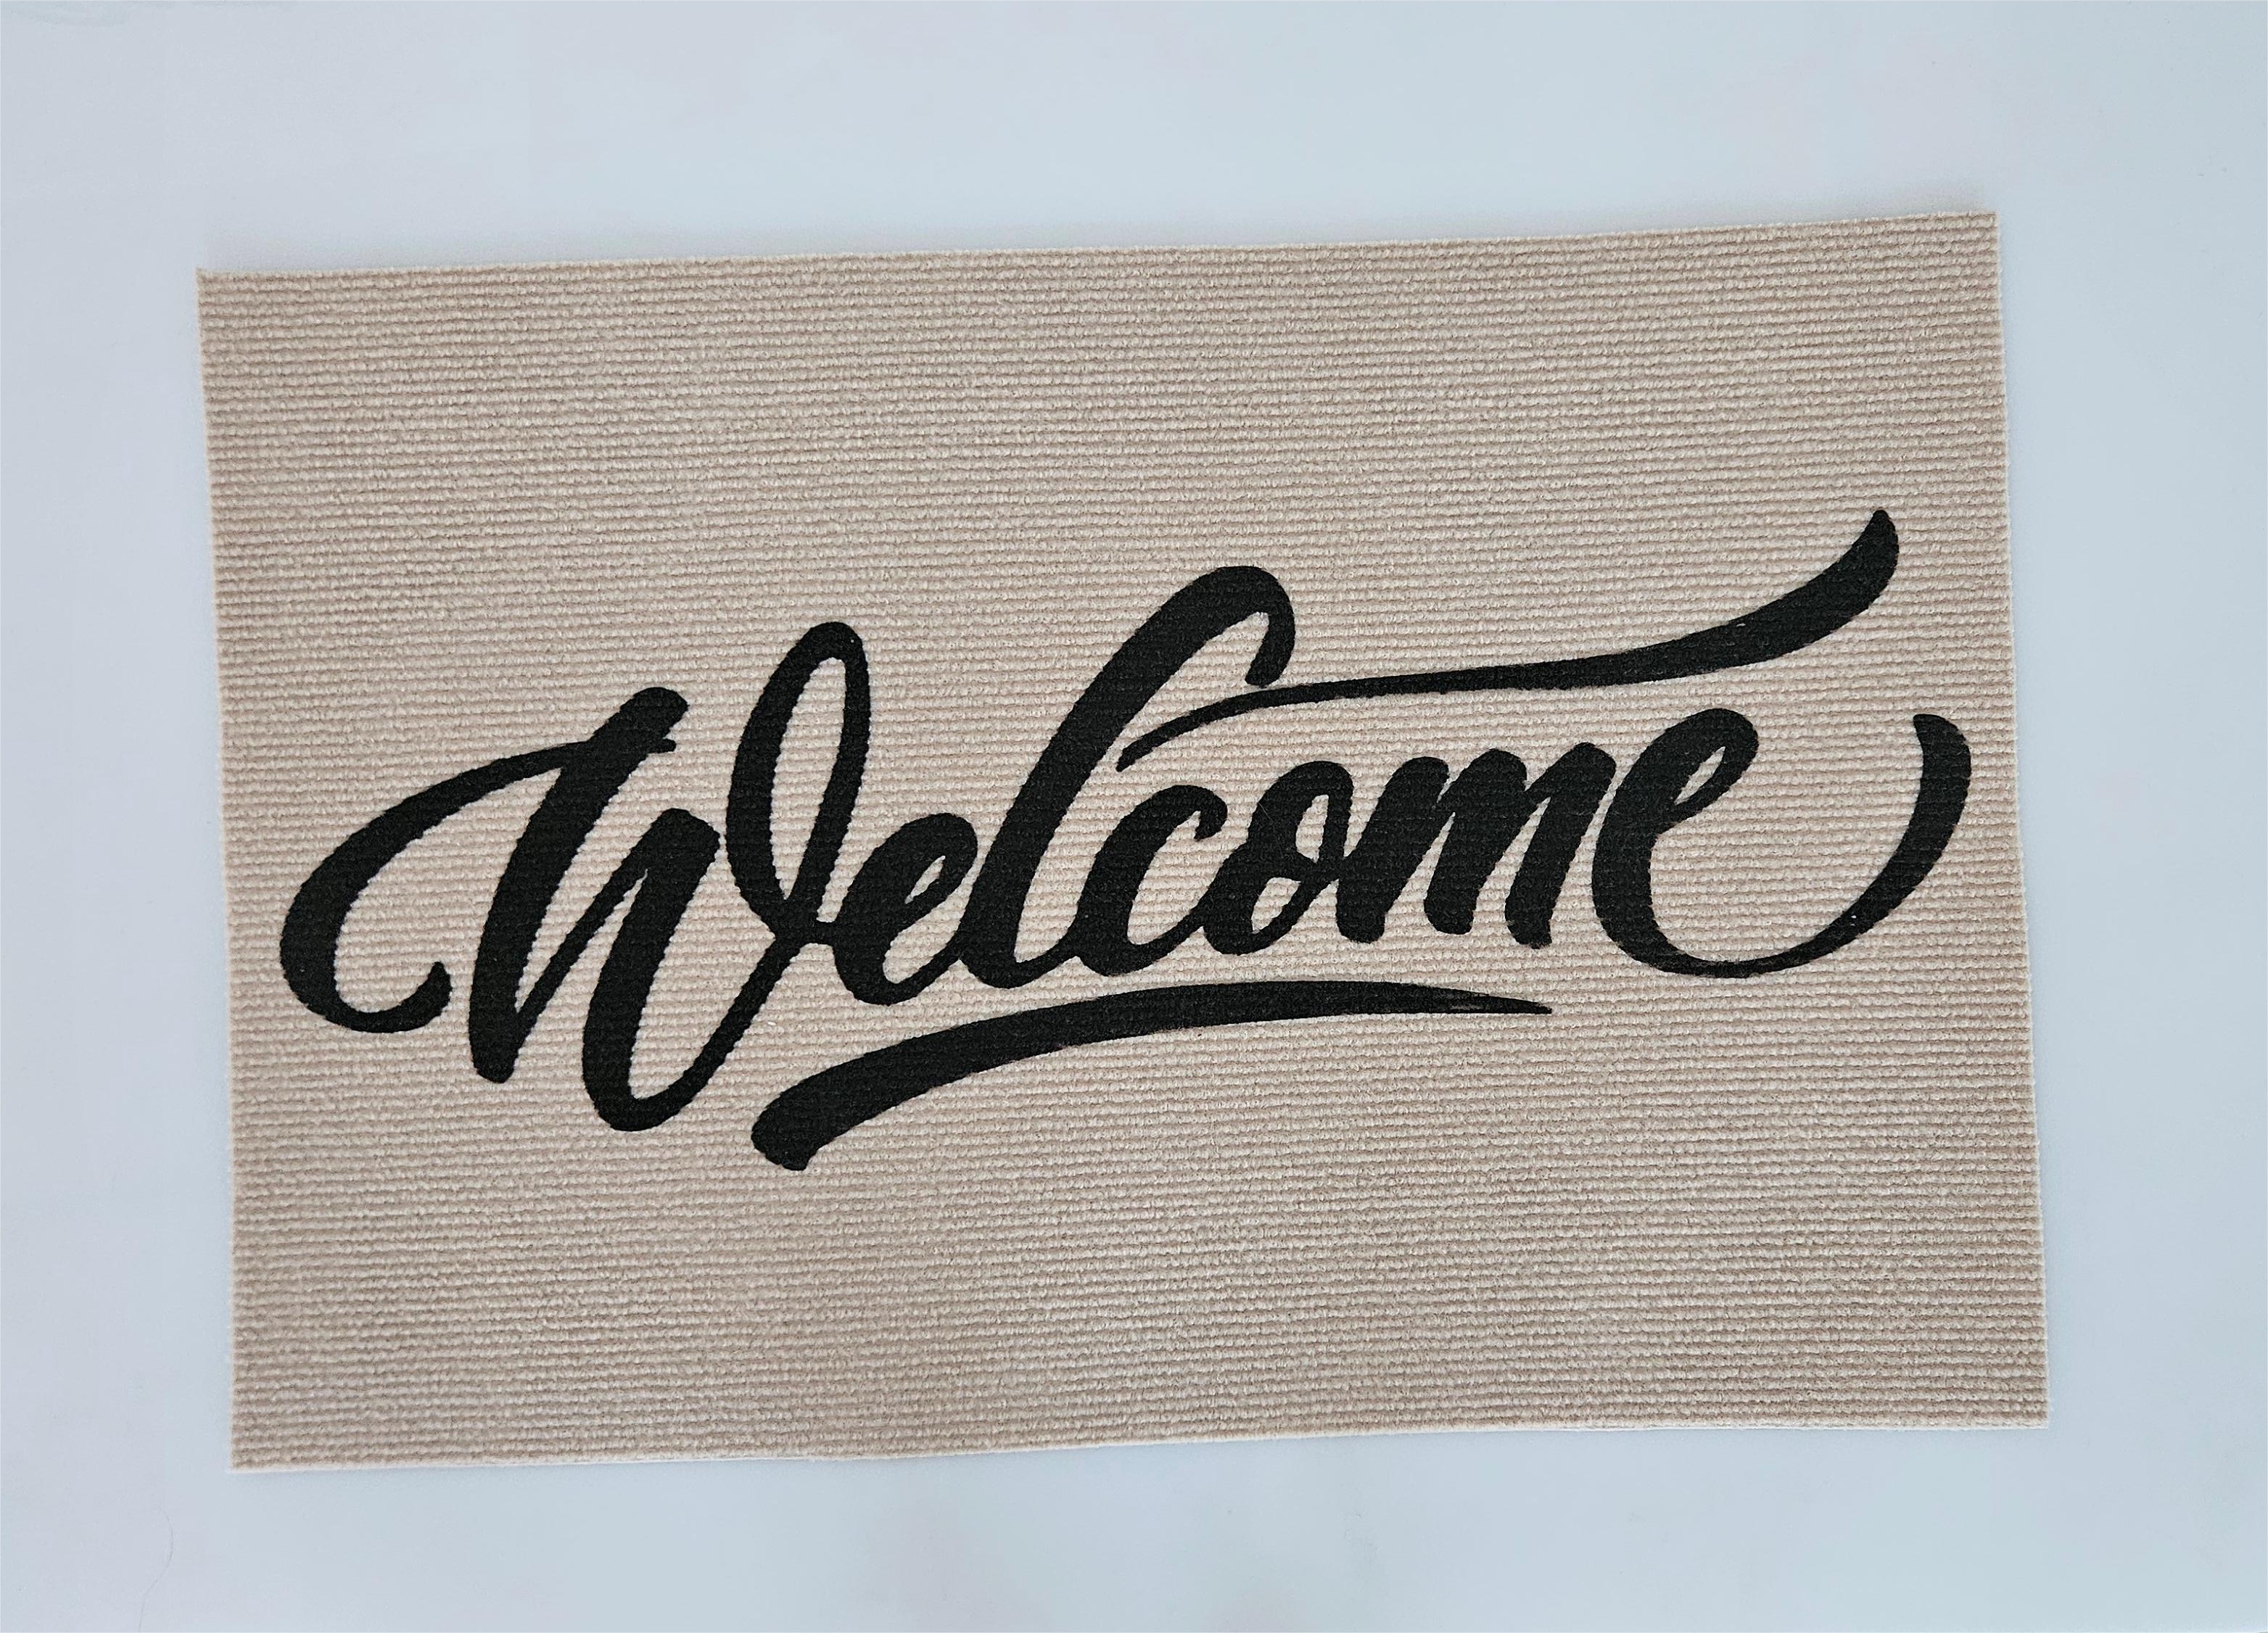
Proper adhesion is impossible without aggressive decontamination. New mats contain mold-release agents, while old mats hold years of embedded oils, dirt, and organic matter. You must strip the surface down to bare rubber.
Dry Brushing: Start by aggressively brushing the dry mat with a stiff nylon brush to dislodge loose dirt, dried mud, and debris trapped in the crevices.
Chemical Degreasing: Apply a heavy-duty degreaser, such as Trisodium Phosphate (TSP) or a citrus-based industrial cleaner. Scrub the mat vigorously. This step removes ground-in dirt, petroleum oils from driveways, organic mold, and any remaining factory sealants.
Rinsing: Use a high-pressure hose to flush the degreaser. Rinse the surface repeatedly until the water runs completely clear and no soap bubbles remain. Any leftover chemical residue will repel the paint.
Drying: The surface must be absolutely, 100% dry before any paint touches it. Leave the mat in direct sunlight for 24 to 48 hours. Trapping even microscopic amounts of moisture under the paint layer will cause the coating to blister and peel away within weeks.
The method you use to apply the paint is just as important as the paint itself. Standard brushing techniques often fail on textured rubber.
Stenciling and Dabbing: When applying designs, dabbing or stippling with a stiff, dry brush is vastly superior to traditional brushing strokes. Pushing the paint vertically into the rubber crevices ensures better mechanical adhesion and prevents the liquid from bleeding under stencil edges. Load the brush with a very small amount of paint and tap it onto a paper towel before applying it to the mat.
Highlighting Raised Designs: If you are working with old dense rubber mats featuring raised patterns, you can achieve a striking two-tone contrast. Load a dense foam roller with a minimal amount of paint. Roll it lightly over the surface so the paint only transfers to the elevated portions, leaving the recessed background in its original state. Do not press down hard, or the paint will squeeze into the recesses.
Spray Application: For spray applications, maintain a consistent 10-12 inch distance from the surface. Apply multiple light, even coats rather than attempting to cover the dark rubber in one heavy pass. Allow adequate flash time (usually 10-15 minutes) between layers according to the paint manufacturer's specifications to prevent solvent entrapment and wrinkling.
Patience during the curing phase prevents premature failure. Rushing this step ruins the entire project.
Curing Time: Understanding the difference between "dry to the touch" and "fully cured" prevents premature wear. While paint may feel dry after an hour, the underlying solvents need time to evaporate completely. Keep the mat in a dry, warm, well-ventilated environment (ideally between 65°F and 85°F) for a minimum of 72 hours before subjecting it to any foot traffic.
Clear Coat Sealants: Applying a clear coat sealant provides a sacrificial wear layer. Evaluate the exposure of your entryway; if the area receives direct rain, snow, or intense afternoon sun, a flexible, UV-resistant clear spray sealant is necessary. Apply two thin coats of matte or satin clear spray. This topcoat locks in the color pigments and absorbs the initial friction from footwear, protecting the colored layers beneath.
Paint cracking and flaking represent the most common failure points. This occurs when rigid coatings cannot handle the compression of footsteps. To mitigate this risk, strictly avoid rigid oil-based enamels or standard interior wall paints. Always apply multiple thin coats rather than one thick, heavy layer. Thin layers maintain the rubber's natural flexibility and are far less prone to structural fracturing. If you see the paint starting to pool or build up thickly in corners, brush it out immediately.
Bleeding edges can ruin intricate designs, especially when using stencils on textured rubber. Liquid paint naturally seeks the lowest point, seeping under templates. Mitigate this by using high-quality temporary stencil adhesives to lock the template down tightly against the rubber. Employ the vertical dry-brush dabbing technique, applying very little paint at a time, to prevent excess liquid from pooling and spreading. Never use a wet brush or thin the paint when stenciling.
A tacky finish that never fully dries usually indicates a chemical incompatibility. Certain oil-based paints react negatively with the plasticizers in rubber compounds, resulting in a permanently sticky surface that attracts dirt and debris. Ensure the paint used is chemically compatible with rubber. Water-based exterior acrylics and specialized plastic/rubber aerosols are the safest choices to guarantee a hard, dry cure. If you encounter a tacky finish after 72 hours, you must strip the paint entirely and start over with a compatible product.
Restoring a mat requires purchasing specific supplies. You must calculate the cumulative cost of heavy-duty degreasers, high-quality exterior acrylics or specialized spray paints, specialty stippling brushes, stencil materials, flexible clear sealants, and safety gear like respirators for spraying. Often, acquiring these materials from scratch approaches the cost of a new product. If you only need to buy a single can of spray paint, the economics make sense. If you need a full suite of supplies, the DIY route quickly becomes expensive.
Furthermore, factor in the labor. Deep cleaning, masking, painting multiple layers, and applying sealants demand significant active labor time. The passive multi-day curing time required to achieve a durable finish means your entryway will be without a mat for nearly a week. You must weigh the value of your time against the cost savings of upcycling.
Professional manufacturing utilizes processes impossible to replicate at home. Custom Printed Door Mats are typically constructed using vulcanized rubber, industrial UV-cured inks, or solution-dyed fibers designed to withstand commercial-level foot traffic and harsh weather without degrading. These industrial processes embed the color into the material at a molecular level, ensuring it will not flake off under pressure.
DIY projects inherently have aesthetic limitations. Visible brush strokes, eventual UV fading, and limited detail resolution are common. In contrast, factory-printed designs offer crisp precision, exact color matching, and structural warranties that guarantee long-term performance under demanding conditions. A professionally manufactured mat maintains its appearance for years, whereas a painted mat requires ongoing maintenance.
Choose the DIY restoration route if your budget is strictly limited and you already own the necessary supplies. It is also an excellent option for seasonal or temporary holiday designs where long-term durability is not a priority, or if you simply value the hands-on crafting experience. Painting allows for complete customization, letting you match specific exterior trim colors or create unique patterns unavailable in stores.
Choose replacement if the mat is destined for a primary, high-traffic entryway. If the space represents a business or brand storefront, a professional appearance is mandatory. Users requiring a zero-maintenance, multi-year lifespan will find that investing in a purpose-built replacement offers superior long-term value. The upfront cost of a new mat pays off through years of reliable, fade-resistant performance.
Painting a rubber surface is highly feasible and yields excellent short-term results provided you adhere to strict surface preparation protocols. Utilizing flexible, exterior-grade paints ensures the coating can withstand basic compression and environmental exposure. However, it is vital to recognize that any painted layer on a flexible, high-traffic substrate has a finite lifespan. Your material selection dictates the final outcome. Use exterior acrylics for detailed stencils and highlighting raised designs, as they offer precise control. Opt for specialized rubber spray paints when executing full-coverage base coats. Always factor in the inherent lifespan limits of painted rubber when deciding how much effort to invest in the restoration.
Evaluate your current mat's structural integrity to ensure it is worth the time and material investment of a restoration project.
Purchase a heavy-duty degreaser and a stiff nylon brush to begin the mandatory decontamination process.
Select a flexible, exterior-grade acrylic or rubber-specific spray paint that matches your design requirements.
Allow a full 72-hour curing period in a warm, dry environment before placing the mat back into service.
If you require a permanent, zero-maintenance solution, browse a catalog of high-quality door mat options for a factory-finished upgrade.
A: Use exterior-grade, highly flexible acrylic paints or specialized spray paints formulated explicitly for rubber and plastics. These formulas stretch with the material, preventing the rigid cracking associated with standard wall paints or heavy enamels.
A: Scrub the surface with a heavy-duty degreaser to remove factory oils and dirt. Ensure the mat is completely dry before application. Finally, seal the dried paint with a flexible, UV-resistant clear coat to protect against friction and moisture.
A: Yes, spray paint works well for base coats on rubber-backed styles. You must use a flexible, multi-surface formula and apply it in multiple thin layers rather than one heavy coat to maintain the mat's flexibility.
A: A painted mat typically lasts 1 to 2 years. The exact lifespan depends heavily on the volume of daily foot traffic, exposure to harsh weather conditions, and the quality of the topcoat sealant applied during restoration.
A: DIY painting is cheaper upfront if you already own the supplies. However, buying a high-quality, professionally manufactured mat offers better long-term ROI, as it withstands heavy traffic without requiring constant touch-ups or replacement materials.
A: A dedicated primer is not always necessary for acrylics on rubber, but thorough degreasing is mandatory. Using a flexible primer or a solid base coat can significantly improve color vibrancy, especially when painting over dark rubber.
A: Clean the mat thoroughly, then use a dense foam roller or a dry-brush dabbing technique. Apply a minimal amount of contrasting paint strictly to the elevated elements, leaving the recessed background bare for a clean, two-tone finish.